/ / LIGHTING
For the HDRP of the project , I wanted to create the best environment I could in Unity. Whilst using the HDRP features I was overwhelmed with how many features can be added to enhance the scenery of the tunnel and other environments of Remedy. The first scene that I applies the HDRP profile for was the Tunnel scene. For the first parts of the implementation , I decided to focus on features which I did understand with my extended knowledge in photoshop.
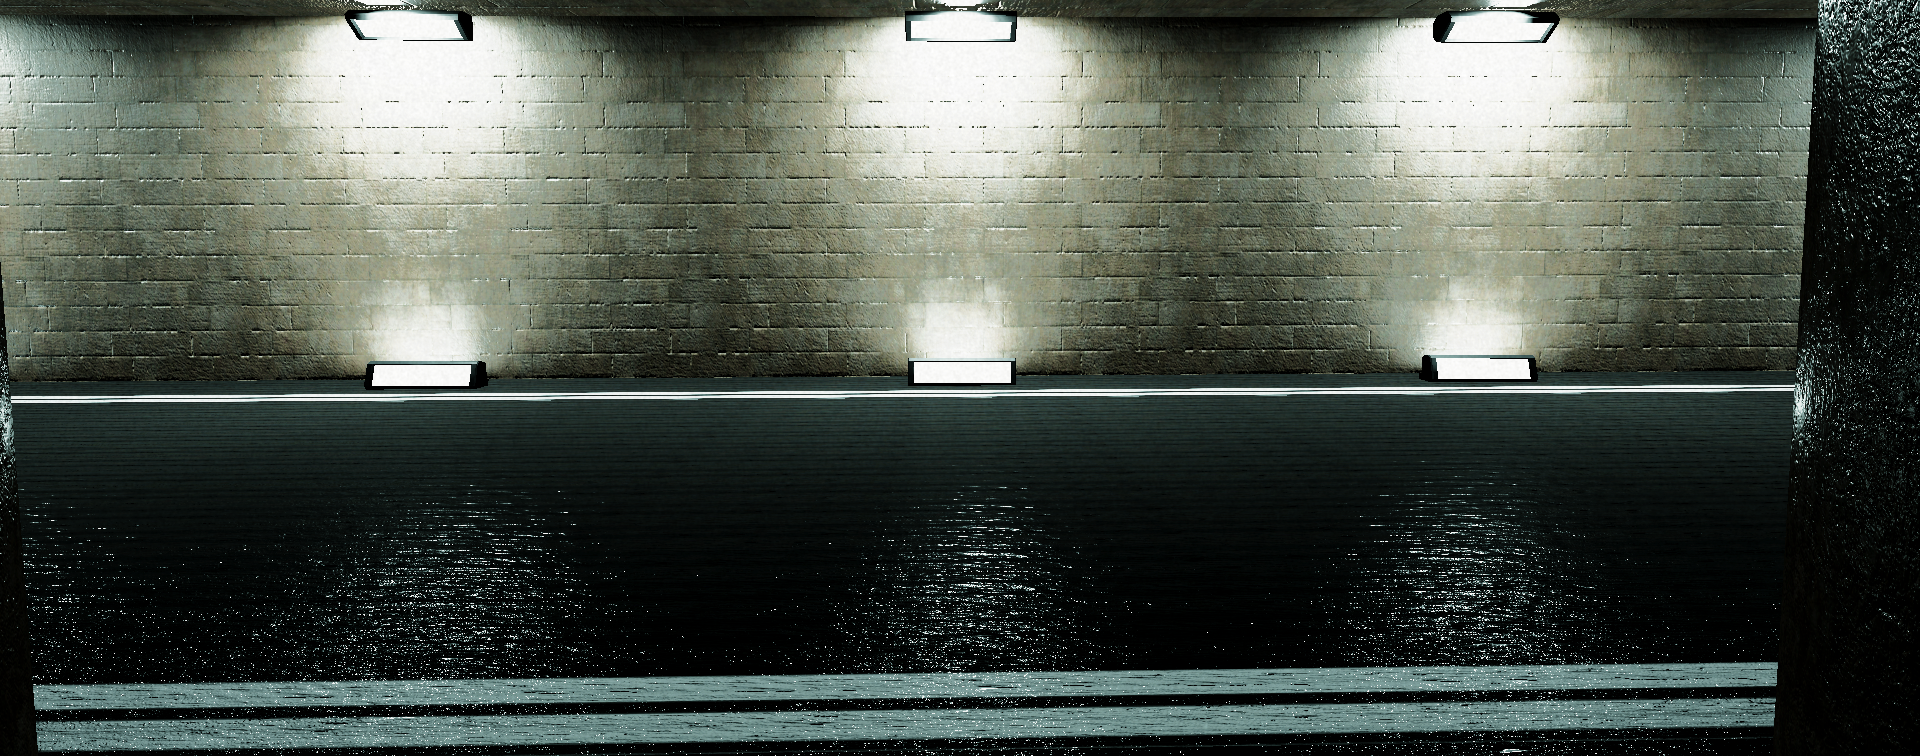
The Scene was targeted to create a dark and mysterious atmosphere , Already I had in mind to increase the contrast in the scene to create more darker shadows and isolate the lighting. I had in mind that isolation the lights in the scene would create more importance to it. Through this implementation , The lighting achieved it's goal to become more important in the Project. The reflections of the wet road was more detailed through the usage , as well as other normal maps such as the pillars and the road.
The Scene was targeted to create a dark and mysterious atmosphere , Already I had in mind to increase the contrast in the scene to create more darker shadows and isolate the lighting. I had in mind that isolation the lights in the scene would create more importance to it. Through this implementation , The lighting achieved it's goal to become more important in the Project. The reflections of the wet road was more detailed through the usage , as well as other normal maps such as the pillars and the road.
|
/ / Lighting - REMEDY 01
|
/ / Lighting - TUNNEL 02
|

|
|
/ / SCENE SETTINGS
/ / Tunnel Profile
HDRI SKY
HDRP's exclusive feature is the ability to gain a more powerful and advanced post processing and photography styled kit. The scene was firstly set to have a HDRI Sky . The sky is not very relevant in the tunnel since it is underground, The Remedy mode scene will display a more better use of the HDRI Sky.
Channel Mixer
The channel mixer allowed me to create a more de saturated scene on top of the saturation that has already been placed in the HDRP profile. This was achieved by concentrating more on the Red Channel and increasing it further to 79 ( limit -200 to 200 ). The blue and the Green in the red channel remained 0 whilst the Green channel had R - 0 G - 100 B - 0 and the Blue channel to be R - 0 G - 0 B - 100.
Colour Adjustment
This tool was used to create a more darker scene via the emphasis on shadows to be 50 (limit -100 to 100). The saturation of the scene was kept to 2 since it had a strong impact to the cold and warm feel of the scene ( limit -100 to 100).
Film Grain
I thought that film grains would be a great addition to the scene since it would create a more 2000's vibe. This was heavily inspired by the fact that the car used (Toyota AE86) is an icon in japan especially for featuring in a manga / anime "Initial D" . I kept the film grain to be thin with an intensity of 1 (limit 0 to 1) for the scene to not interrupt to much and allow the viewers to focus more on the world building of the scene.
Others
Further features were added in such as the Tone Mapping being set to ACES ( ACADEMY COLOR ENCODING SYSTEM). exposure for the scene was set to bring in more darkness into the scene from having a low negative value. Fog was also into place , however it did not deal a greater impact than Remedy mode scene did. The same thing can be said for the Ambient Occlusion. The Depth of Field was adding in to contribute to the mystery between the end of each tunnel , as well as making the viewers focus more on the car cinematography.
/ / Remedy Profile
Gradient SKY
Gradient Sky consisted of 3 colours to be formed from . I chose different shades of black and white to add to the Cold feeling of being in the Remedy mode area. The cold feeling is to express the relief of the fresh cold when feeling Trapped , uncomfortable and hot (sick basically). Exposure was set a very small amount over neutral , it nearly does not make a difference.
Chromatic Aberration
I high level of chromatic Aberration a project is practically begging for a scene not to be normal or to become more of an Illusion. This feature as well as cars disobeying physics and gravity further confirms to the user that this environment is not real.
Film Grain
The Film Grain for this profile has been kept the same as the Tunnel profile.
Others
Volumetric was the feature that made Remedy mode what remedy mode is suppose to be. The God rays in the scene contributes well in displaying the scene to be more legendary or holy to the viewers , God-rays are present although they are hard to see due to the camera being focused on the car Models. White - balancing has been further brought to a negative value to emphasise the coldness in the scene.
